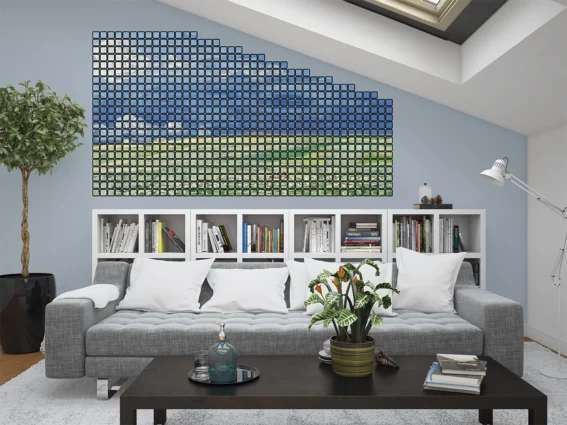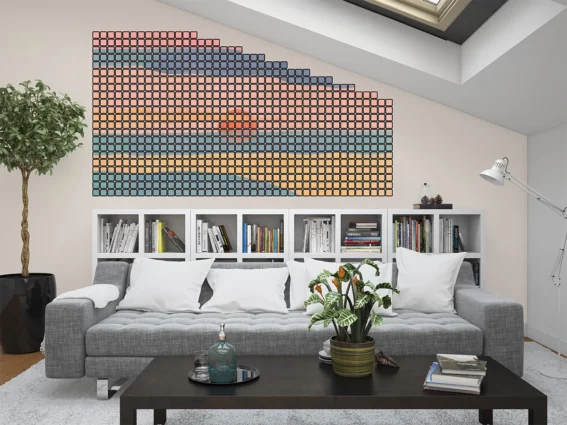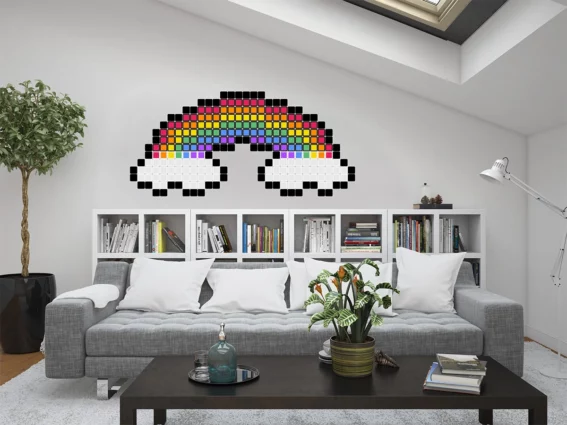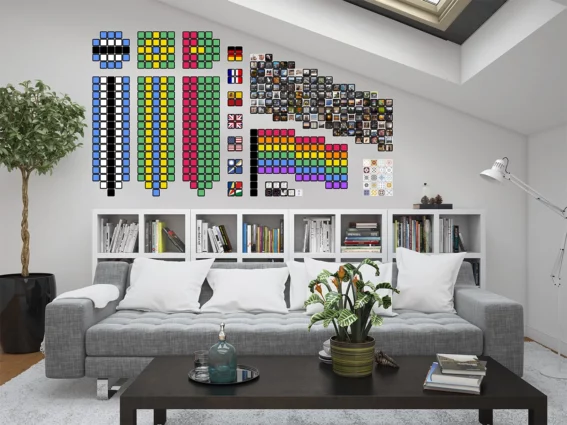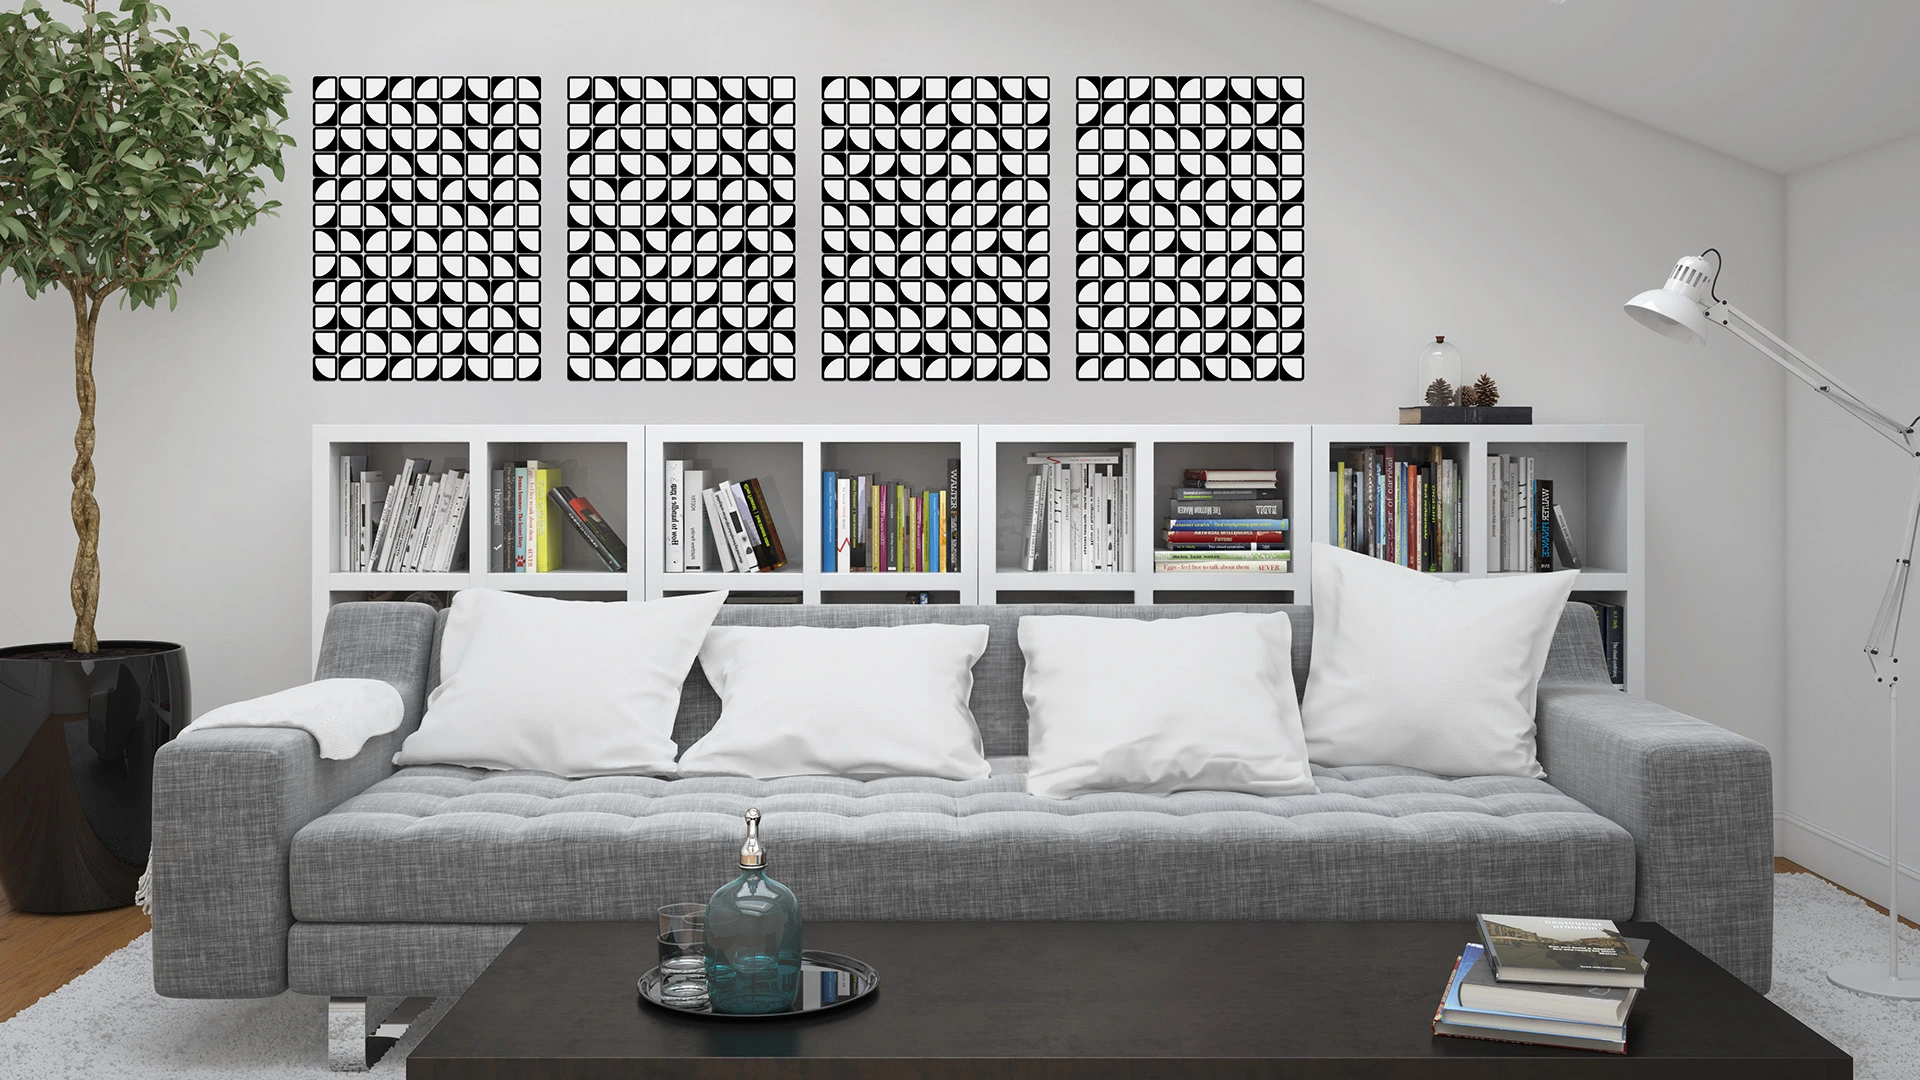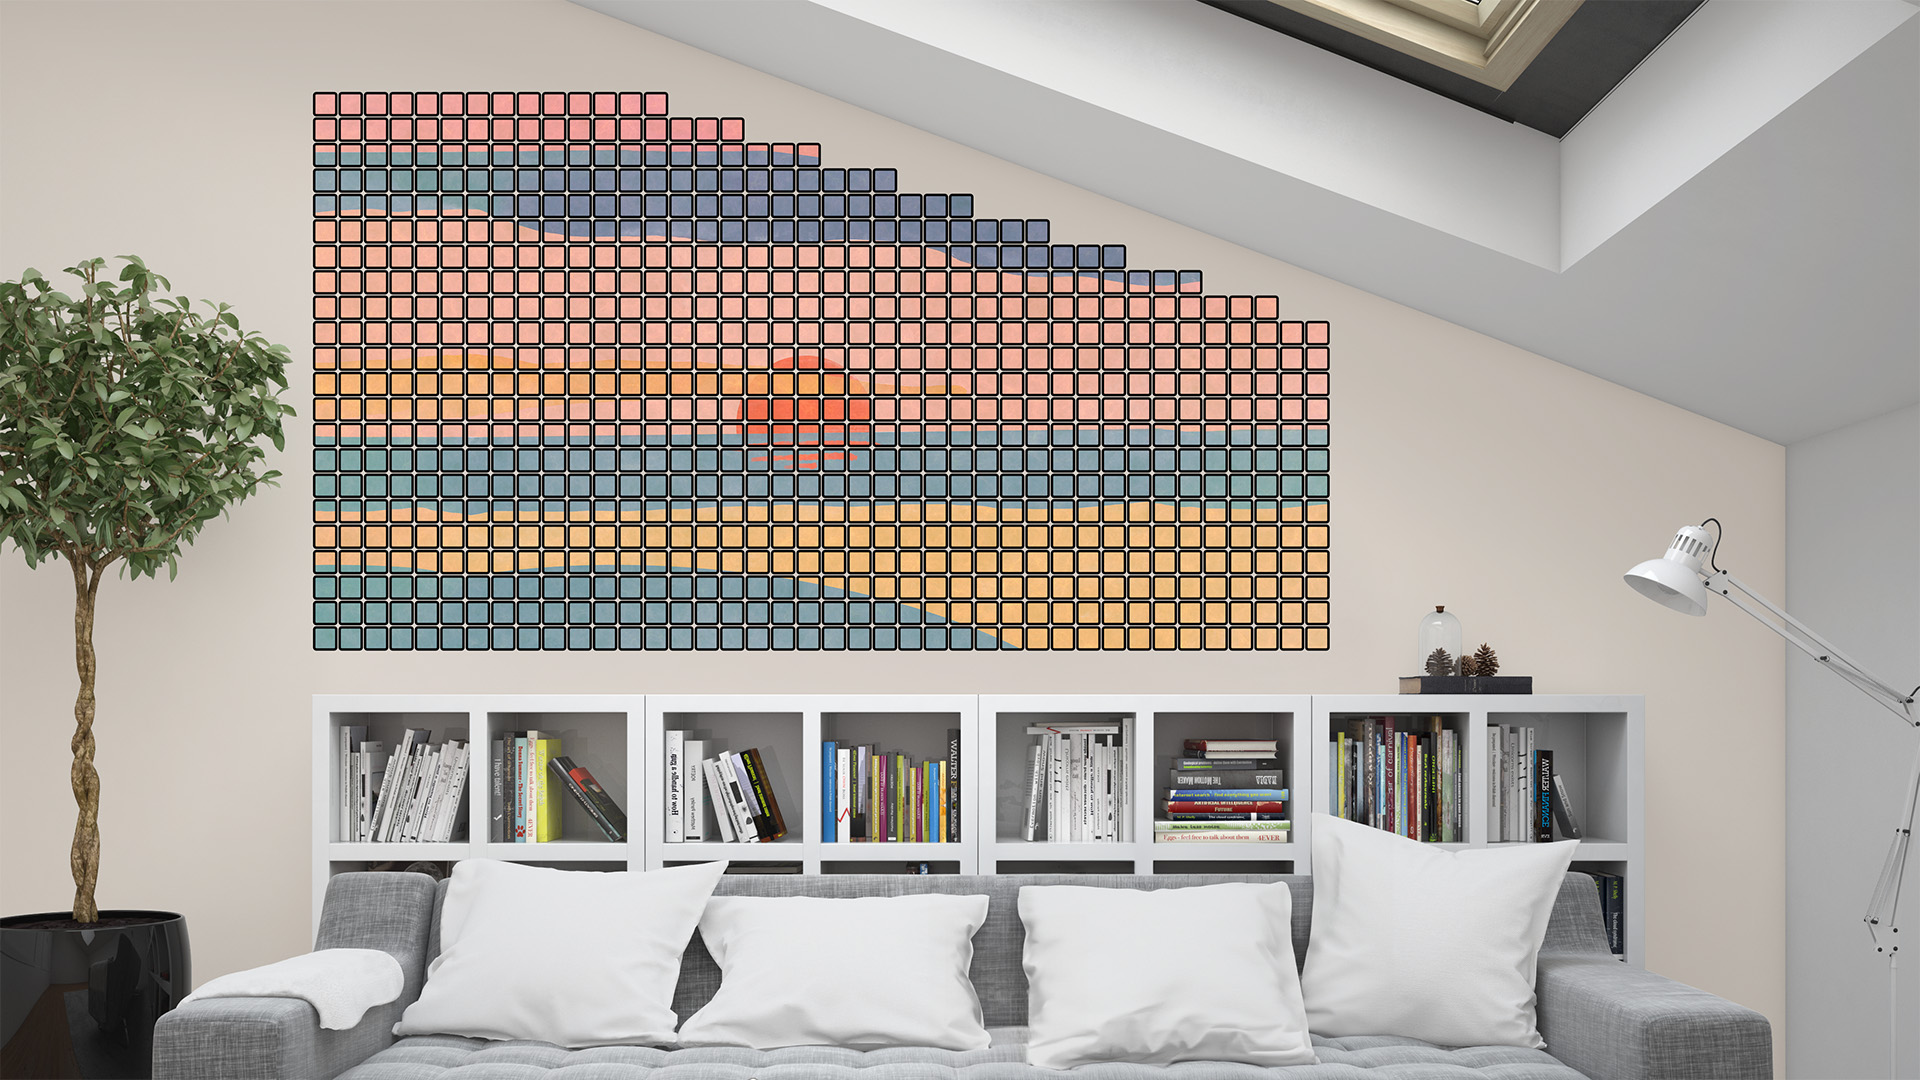
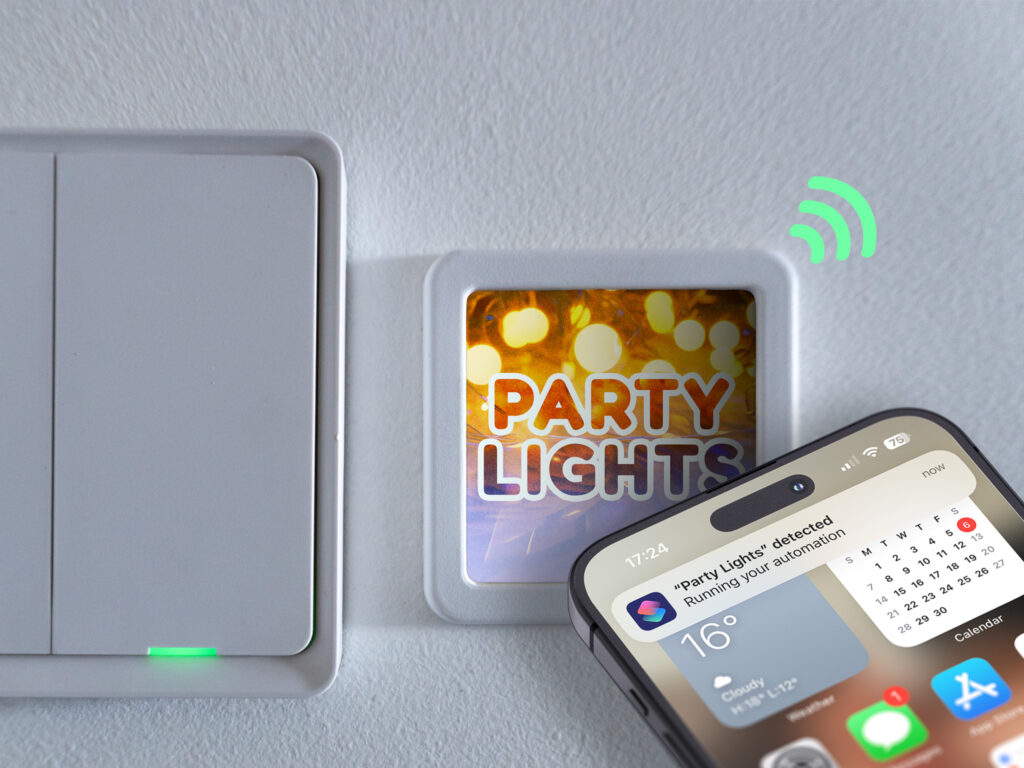
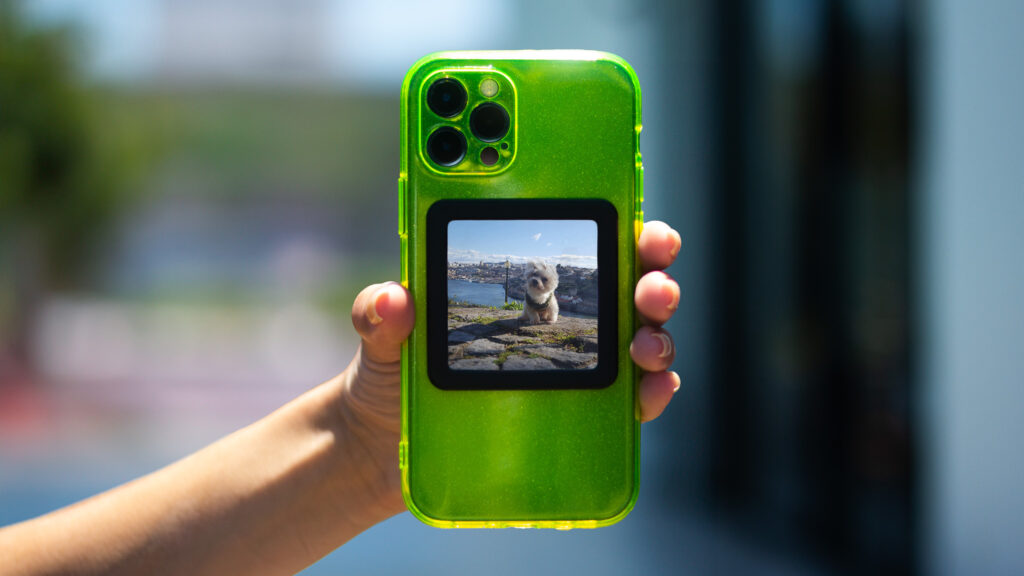
Transform your space into a personalized gallery with Magik Prints.
The magnetic wall art allows you to create a dynamic and ever-changing display.
Are you new here? Get started with the basics.
Already a fan? See more great ideas.
Follow these 5 steps to create a stunning magnetic wall art display that is uniquely yours.
Step 1
Measure Your Space
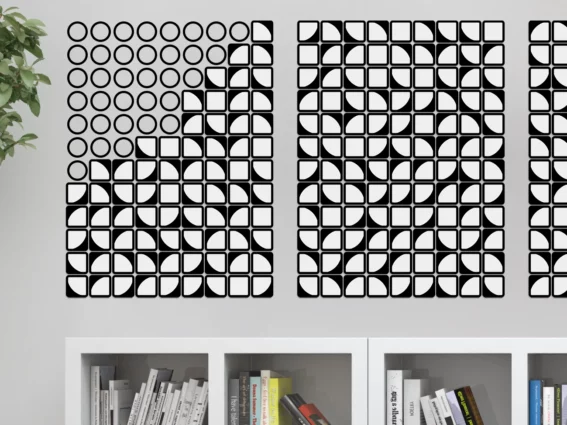
- Measure the wall or surface you intend to attach your custom magnetic wall art. Each Magik Print measures 60x60mm.
- Consider if you will go for a gapless positioning or if you will add space between each Magik Print.
- Take note of the dimensions to guide your design decisions.
Step 2
Upload and Order
- Visit magikprints.com/new to upload your selected images and place your order for Magik Prints.
- DO NOT FORGET: Add Wall Stickers to your order, considering that they come in packs of 3.
Step 3
Stick Your Wall Stickers
- It’s time to prepare your wall. Peel off the backing of the Wall Stickers to expose the adhesive side and stick it accordingly.
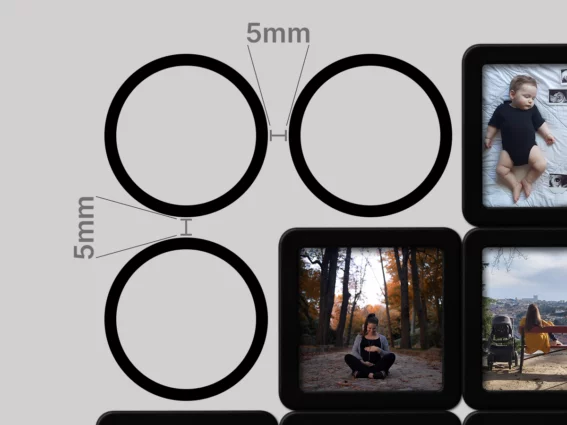
- MIND THE GAP: To achieve a gapless positioning of the frames, stick the Wall Stickers with a horizontal and vertical spacing of 5mm.
- To space the Magik Prints out, just add to these numbers. For instance: for a 1cm gap between each Magik Print, position the stickers with a 15mm spacing.
Step 4
Attach Your Magik Prints
- With the Wall Stickers in place, attach your Magik Prints by aligning the magnetic back of each print with the metallic surface of the Wall Stickers.
- The magnets will securely hold your prints in position, creating a visually striking display.

Step 5
Arrange & Rearrange
- Now that your custom magnetic wall art is assembled, feel free to experiment with different arrangements.
- Easily rearrange your Magik Prints to suit your evolving tastes or to mark special occasions.
That’s it! You did it!
Your new magnetic wall art is ready and gorgeous
Also find them in your Magik Gallery