Welcome to the world of Magik Prints.
For your iPhone, for your home, for you.
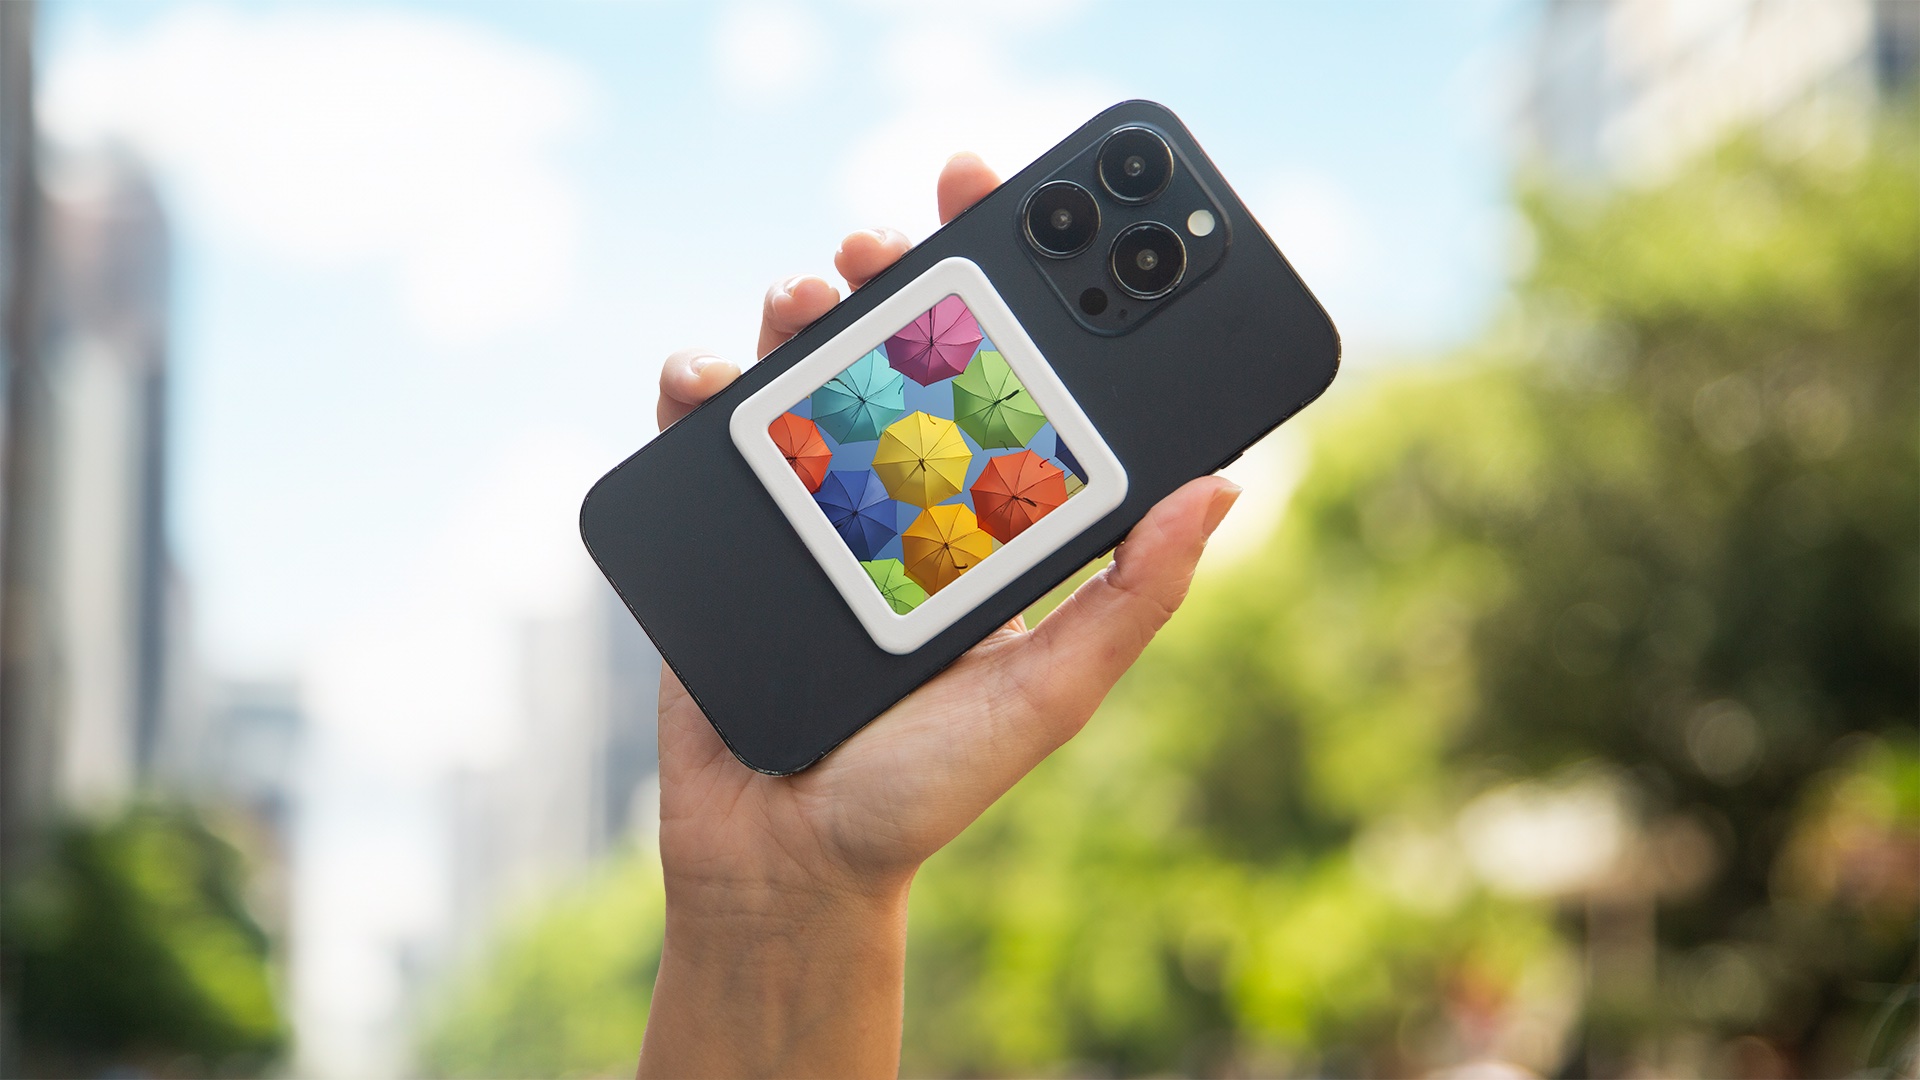
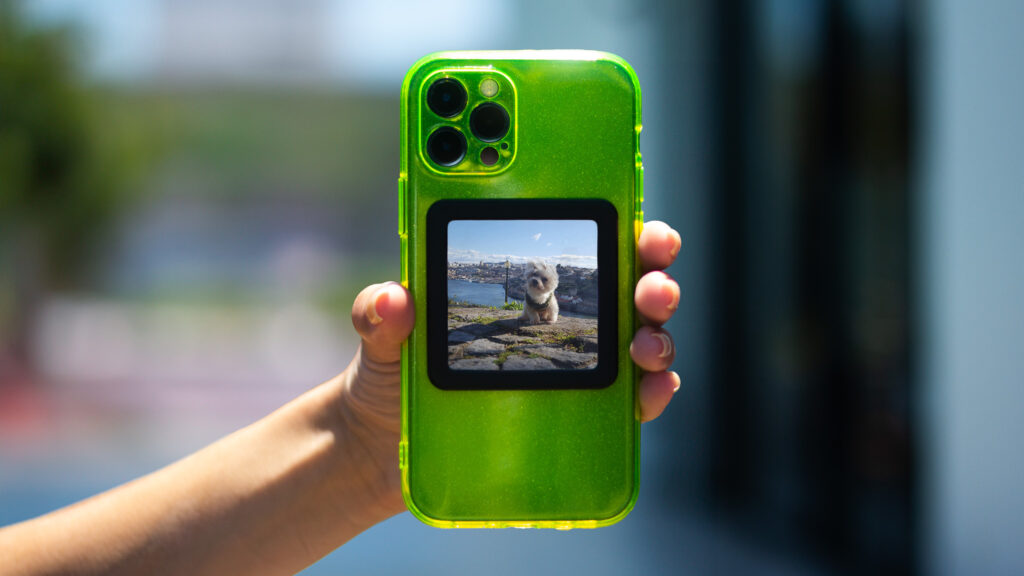
Upload your favorite images and print your memories into beautifully framed magnetic photos that stick to your iPhone.


Are you new here? Get started with the basics.
Already a fan? See more great ideas.
Follow these 5 simple steps below to create your very first Magik Print. Soon your new magnetic photos will arrive at your doorstep.
Step 1
Go straight to the “New Print” page
- You do not need an account to start printing.
- Click “New Print” on the menu or go to magikprints.com/new
Step 2
Upload and Crop Your Images
- Drag the images over the dotted area or click the “Select files” button to choose the photos you want to turn into Magik Prints.
- Our Magik Prints are square, so you’ll need to crop your images to a 1:1 aspect ratio. Don’t worry, our website provides easy-to-use crop tool.
Step 3
Provide Address and Contact Details
- Fill in your shipping address and contact information to ensure your Magik Prints reach you without any hassle.
- An account will be automatically created and you’ll be logged in using the information you provided.
- Click the button “Choose Frame Colors” to proceed.
Step 4
Choose Frame Colors
- Select the frame color for each uploaded image. You can choose between classic black or pristine white frames.
- Click the button “Print All.”
Step 5
Review & Checkout
- On the Cart page, review your order and click “Proceed to checkout”.
- On the Checkout page, choose your preferred payment method and fill in your details.
- Click “Pay & Print” to finish your order.
That’s it! You did it!
Your Magik Prints are on the way
Find them in your Magik Gallery

Pro Tip
Unprinted Magik Prints
- Emptied your cart by mistake? Your Magik Prints are safe inside your Magik Gallery!
- Click “Gallery” on the menu and find all your printed and unprinted Magik Prints.
- From there you can choose a frame color and add them back to the cart.