Want to share your contact in a flash? 
Tap any Magik Print and instantly share your WhatsApp contact with NFC.
Are you new here? Get started with the basics.
Already a fan? See more great ideas.
Follow these super simple steps, and you’ll be sharing your details just by tapping your phone.
Step 1
Get set up
- Choose which Magik Print you want to use. You can choose whatever you want. If you need a new one, print here.
- Clear the default URL embed into the chip (check the Pro Tip at the bottom of this page).
- Download and install the free app NFC Tools from the App Store or the Google Play Store.
Step 2
Create the record
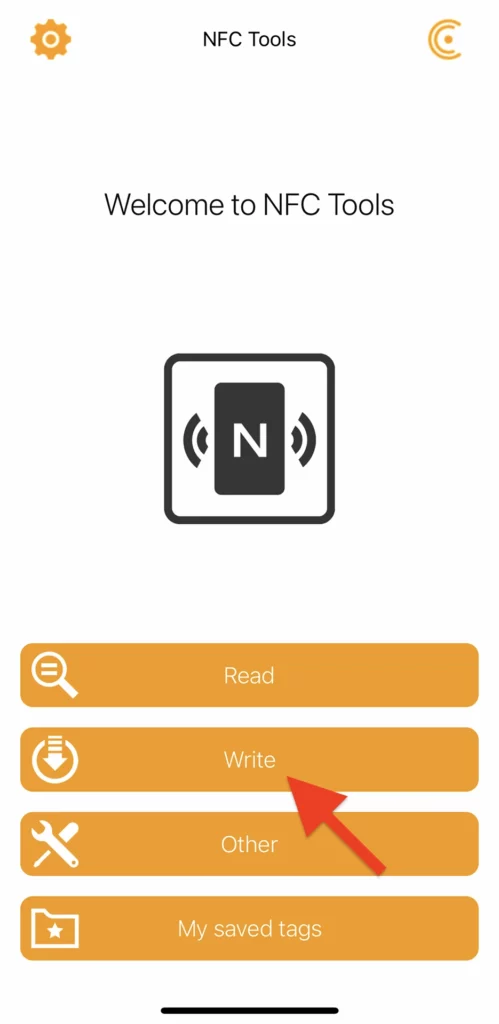
- Open NFC Tools and tap “Write” – let’s get this going!
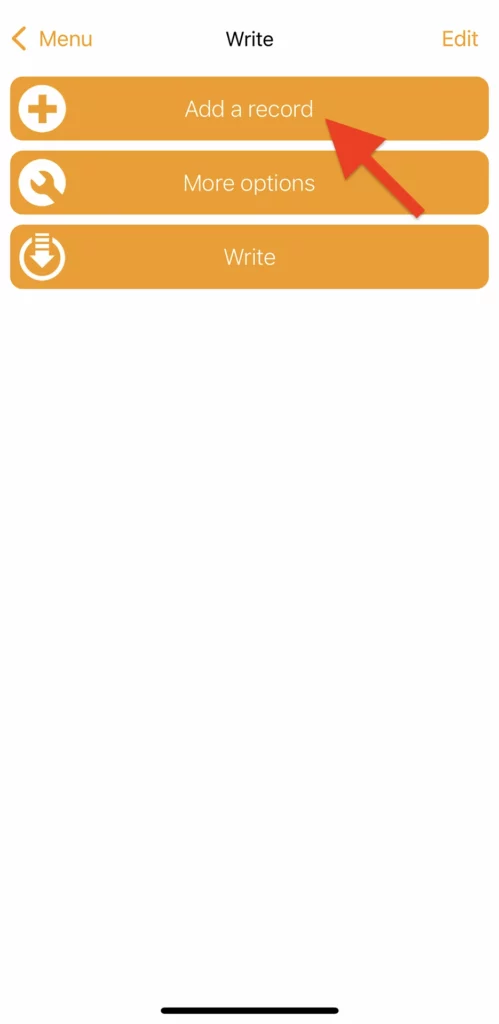
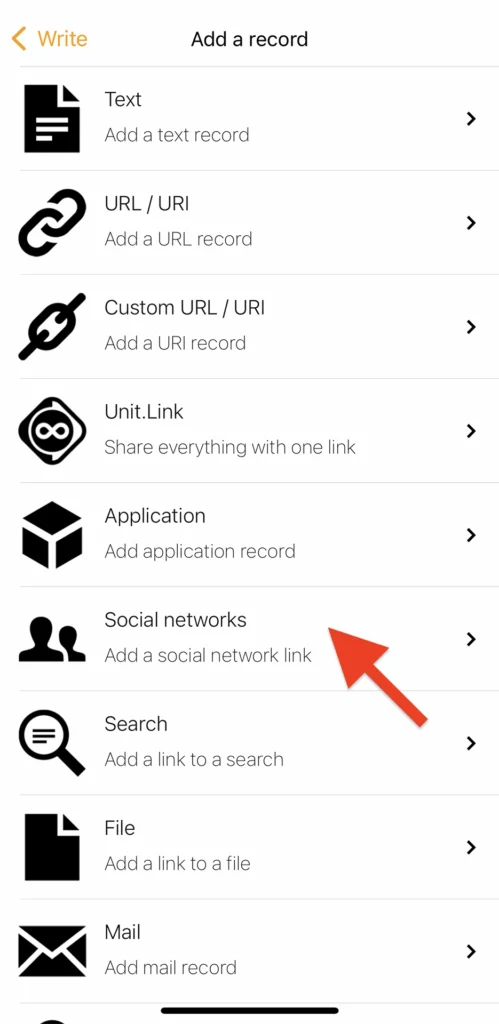
- Tap “Add a Record”, then scroll and pick “Social Networks”.
Step 3
Add your contact
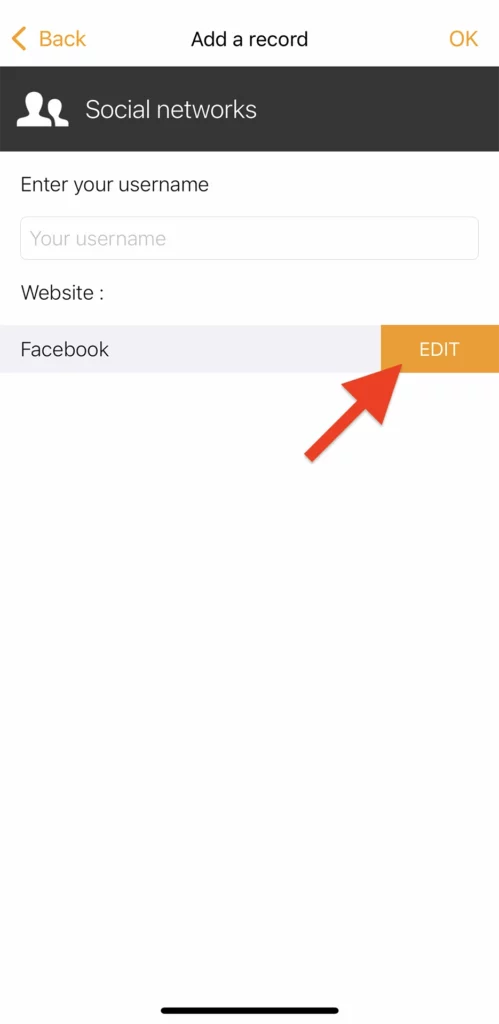
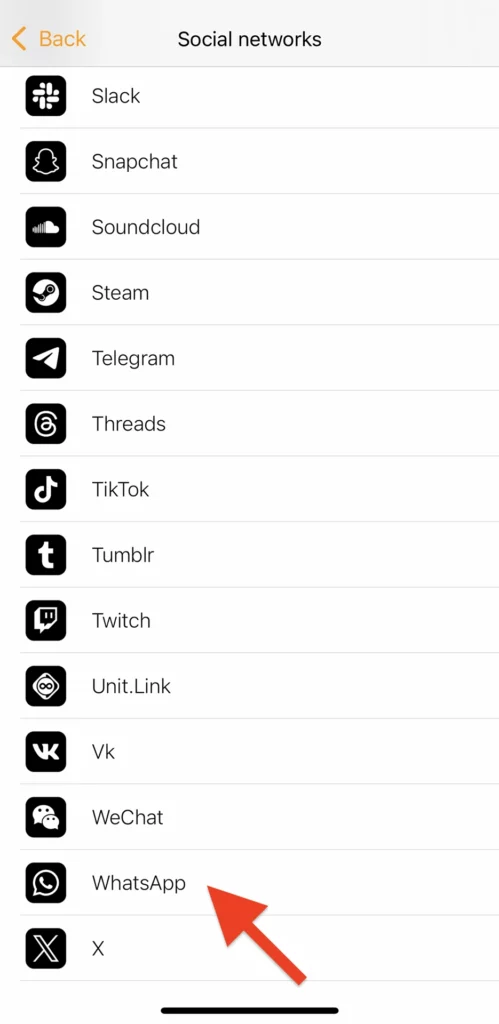
- Hit “Edit”, and from the list, select “WhatsApp”.
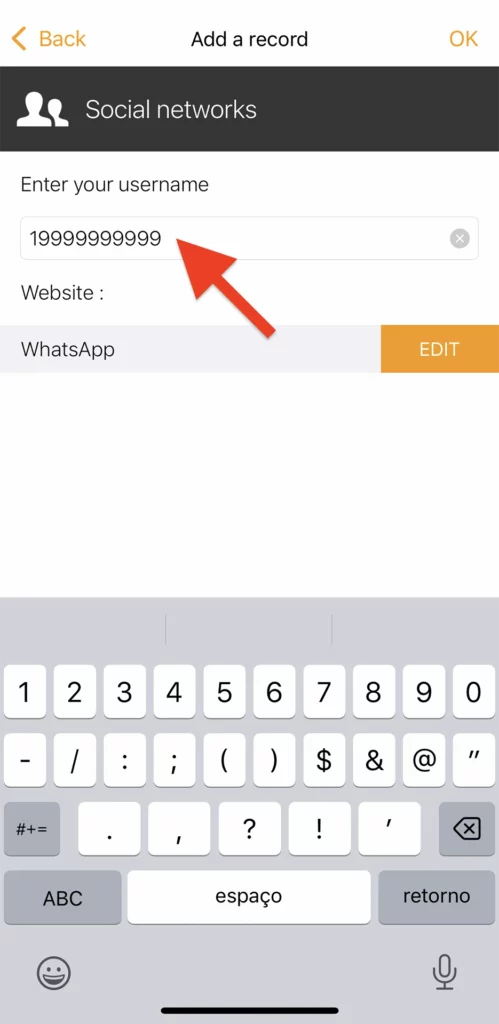
- In the “Username” field, type your full phone number including country code (just numbers – no symbols, no spaces).
- Hit “Ok” at the top right to save the record.
Step 4
Encode the Magik Print
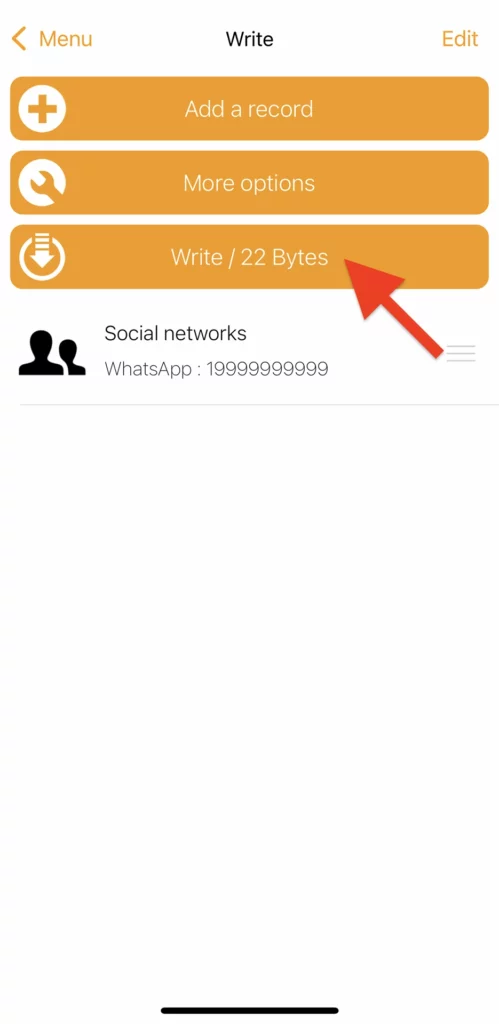
- To encode the NFC chip built into your Magik Print, tap “Write”.
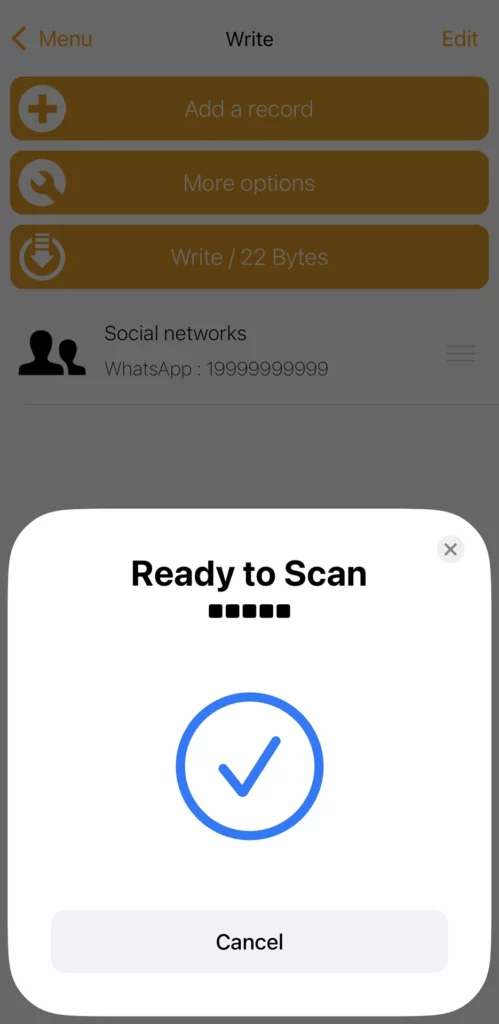
- A message will prompt you to scan the chip.
- Now, for the magik moment – tap your phone to your Magik Print to encode it!
Step 5
Test the Contact
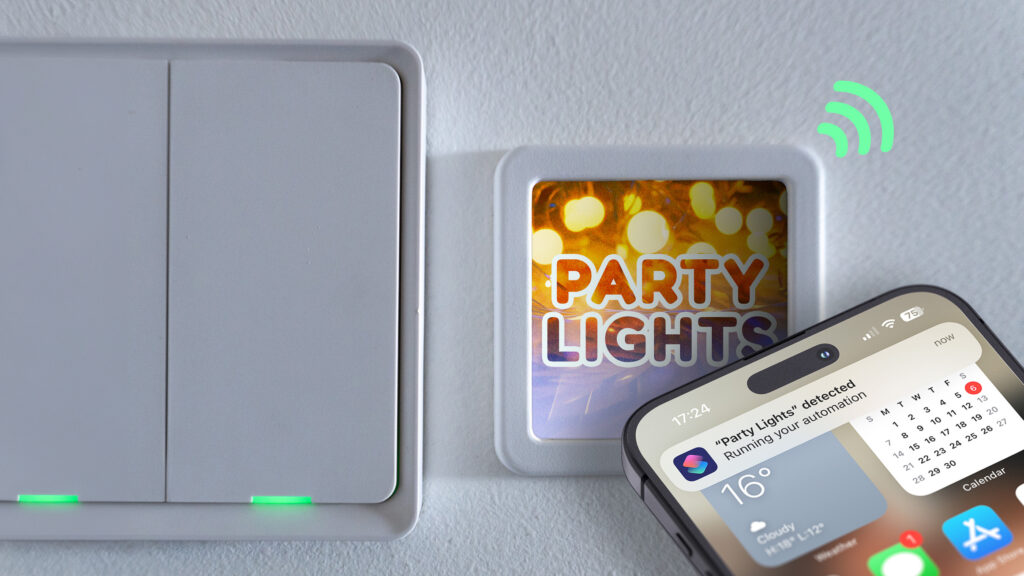
Hold your smartphone near the Magik Print to trigger the NFC tag. Check that it loads WhatsApp and the right contact.
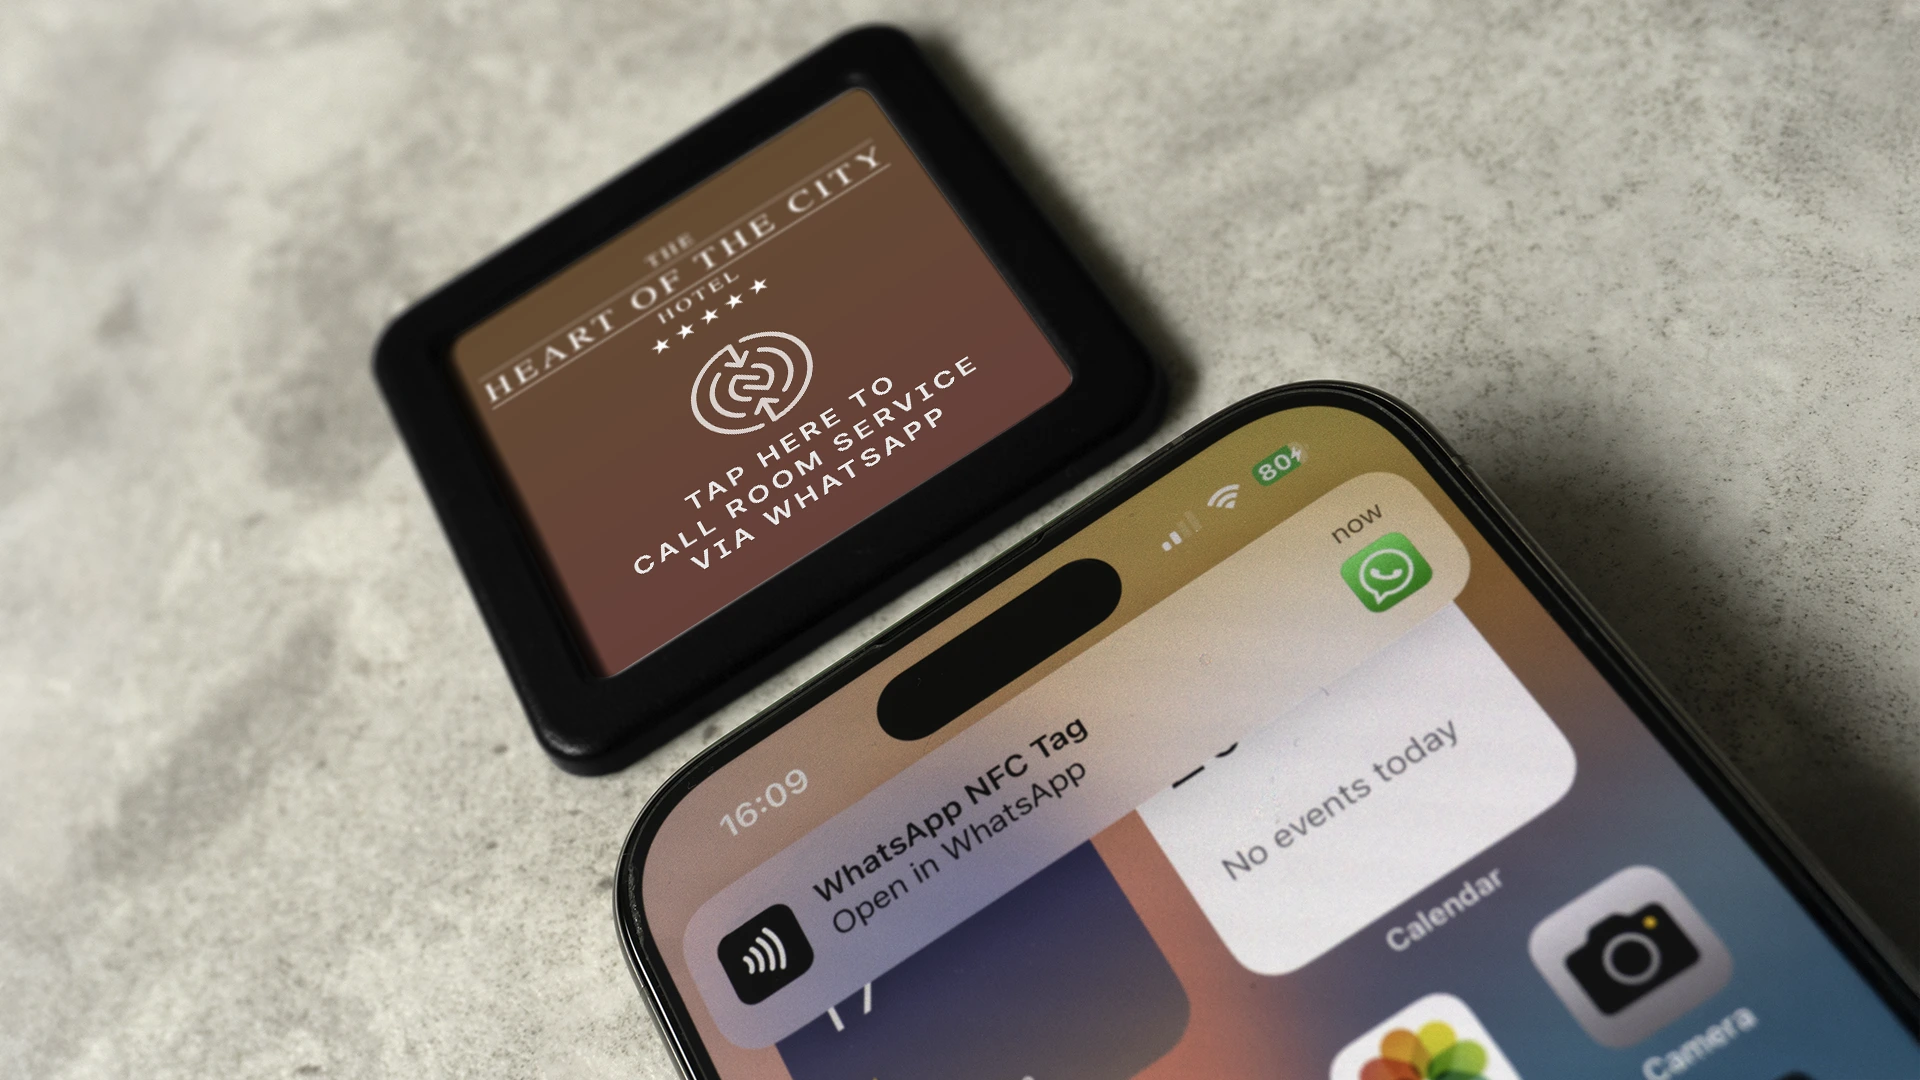
And that’s it! You’re all set.
The next time someone taps their phone on your Magik Print, your WhatsApp contact pops up instantly. Sharing just got a whole lot more magikal!
Pro Tip
Clear the default URL embed into the chip
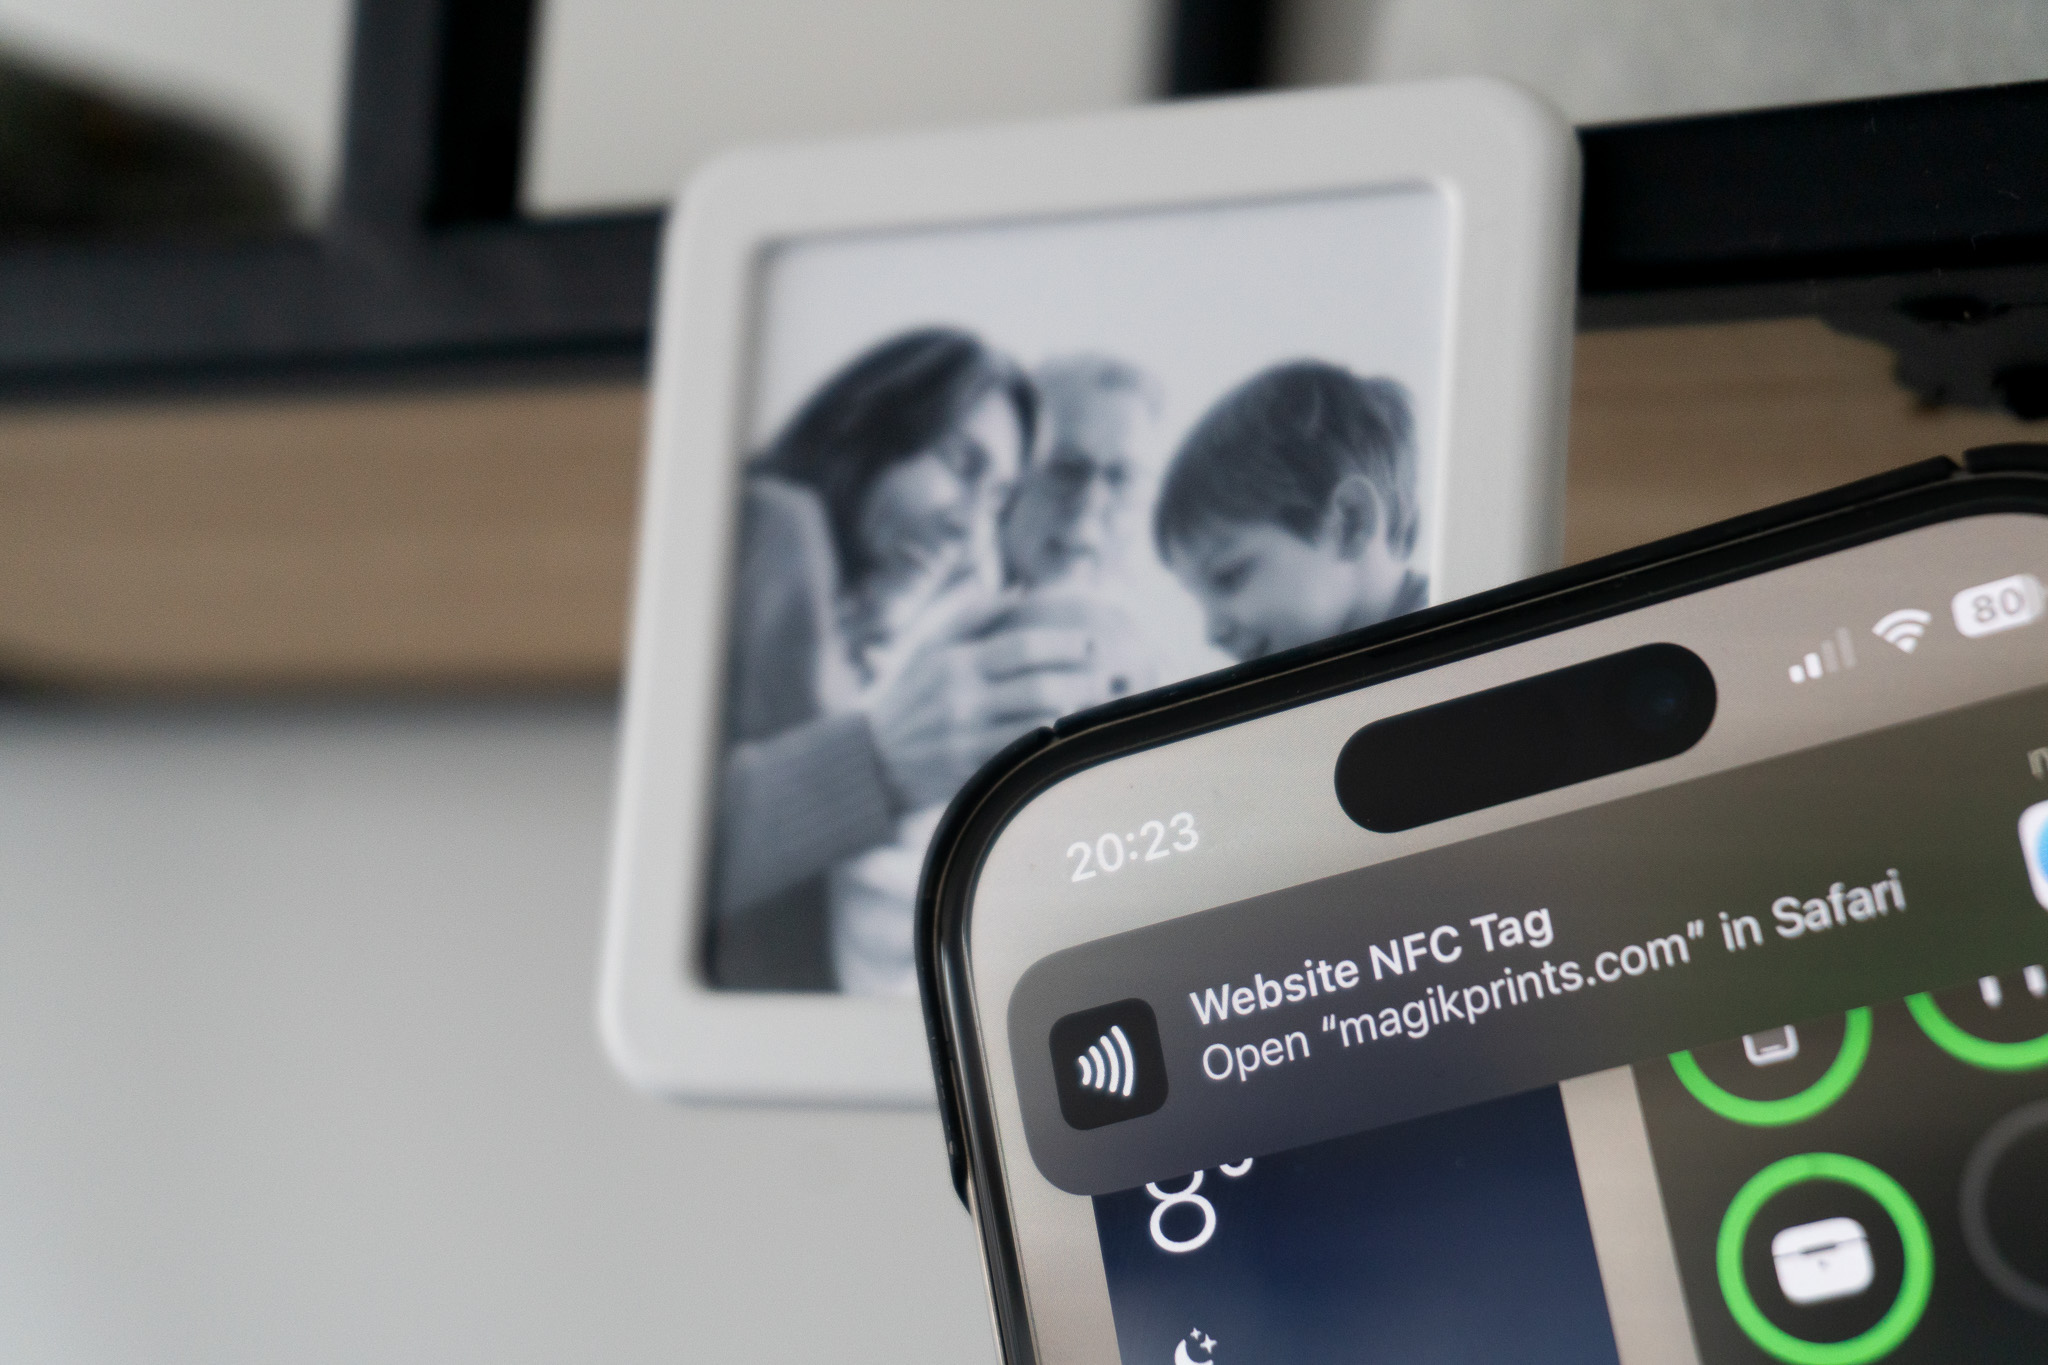
By default, your Magik Print’s NFC chip is encoded with the URL of that specific Magik Print. You can tap it and print copies easily.
While this does not prevent you from setting up other triggers and automations, it might be inconvenient to have the URL notification pop up every time you tap the Magik Print.
Use the app NFC Tools, both on iOS and Android, to clear the default URL.
- Open the NFC Tools app
- Select “Other”
- Select “Erase tag”
- Tap the Magik Print
- You are done!
